 how-to
The Honest Truth About Full Vehicle Vinyl Wrap Installation
Last Updated: November 5, 2026
Quick Summary
A full vehicle vinyl wrap installation is the process of covering your car's painted panels with a thin, self-adhesive film that changes its color or finish. Most of the job is preparation, not application, and a full wrap takes several days in a shop. DIY on a whole car is punished by curves, recesses, and edges, so a professional installer is the practical choice.
- Wash the car with wax-free soap, then degrease every panel before any film touches the paint.
- Wrapping over a chip or rust spot traps moisture, and the film lifts there first.
- A DIY full wrap for a beginner often takes weeks of evenings, and the first attempt rarely comes out clean.
- Too much stretch thins the film, and too little heat means it will not conform.
- A professional installer controls the workspace, the temperature, and the post-heating that locks edges down.
Table of Contents
- What a Full Vehicle Vinyl Wrap Installation Really Involves
- Your Vehicle Wrap Preparation Checklist Before Install Day
- How Long Does a Car Wrap Take to Install, and Is DIY Car Vinyl Wrap Installation Worth It?
- Frequently Asked Questions
What a Full Vehicle Vinyl Wrap Installation Really Involves
A full vehicle vinyl wrap installation is the process of covering your car's painted panels with a thin, self-adhesive film that changes its color or finish. A full vehicle wrap is a slow, precise job, not a quick peel-and-stick project.
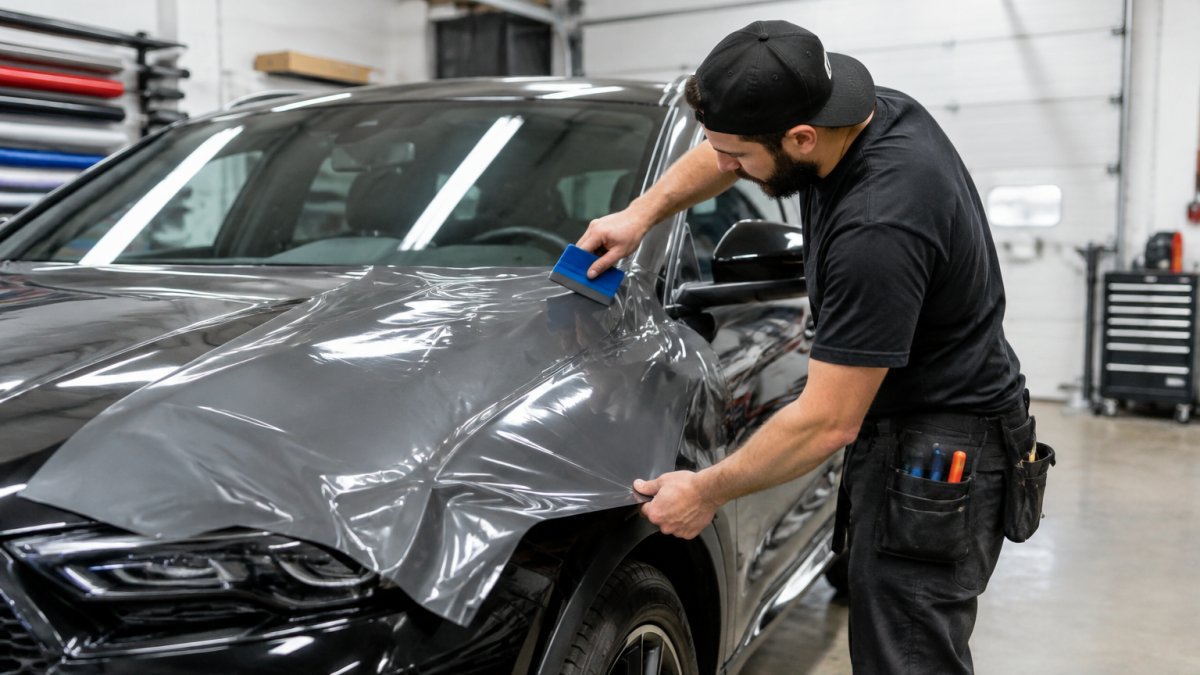
The film is a vinyl wrap, a stretchy automotive vinyl film that clings to curves, recesses, and edges. The work happens panel by panel: wash, degrease, measure, apply, squeegee, heat, finish.
Each step decides whether the wrap lasts. A skipped degrease means lifting edges. A rushed squeegee means trapped air. A cold garage means brittle film.
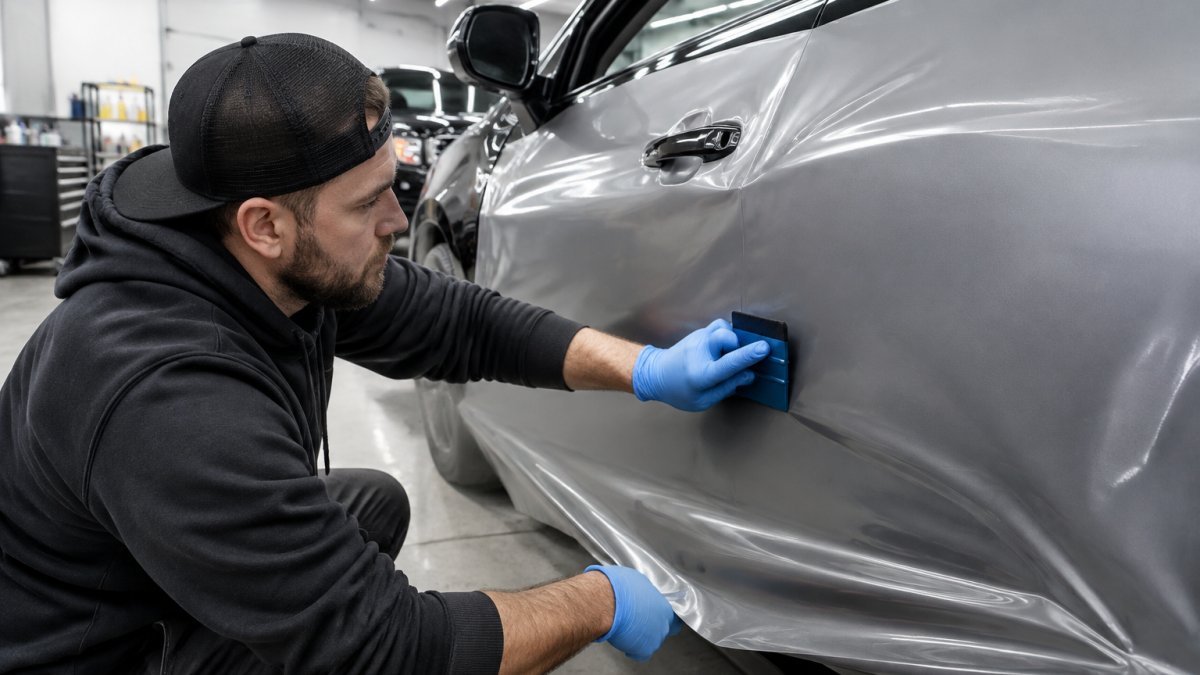
Most of the job is preparation, not application. Most of the job is preparation, and that preparation is what separates a wrap that survives winter from one that peels in months.
Before you choose a shop, it helps to know which car customization shop to choose and what questions to ask about their install process.
Your Vehicle Wrap Preparation Checklist Before Install Day
A vehicle wrap preparation checklist is the list of cleaning, inspection, and workspace steps you finish before any film touches the paint. Get this wrong and the wrap fails from underneath.
Here is the checklist we would follow:
- Wash the car with a wax-free soap, then dry it fully
- Degrease every panel, especially door handles and lower rockers
- Remove wax, polish, grease, and silicone residue
- Check for chips, dents, and rust, and fix them first
- Plan the panel order and measure each panel
- Set up a dust-free space with good light and steady warmth
- Gather tools: squeegee, wrap glove, heat gun, blades, tape
- Estimate your vinyl roll length before you order
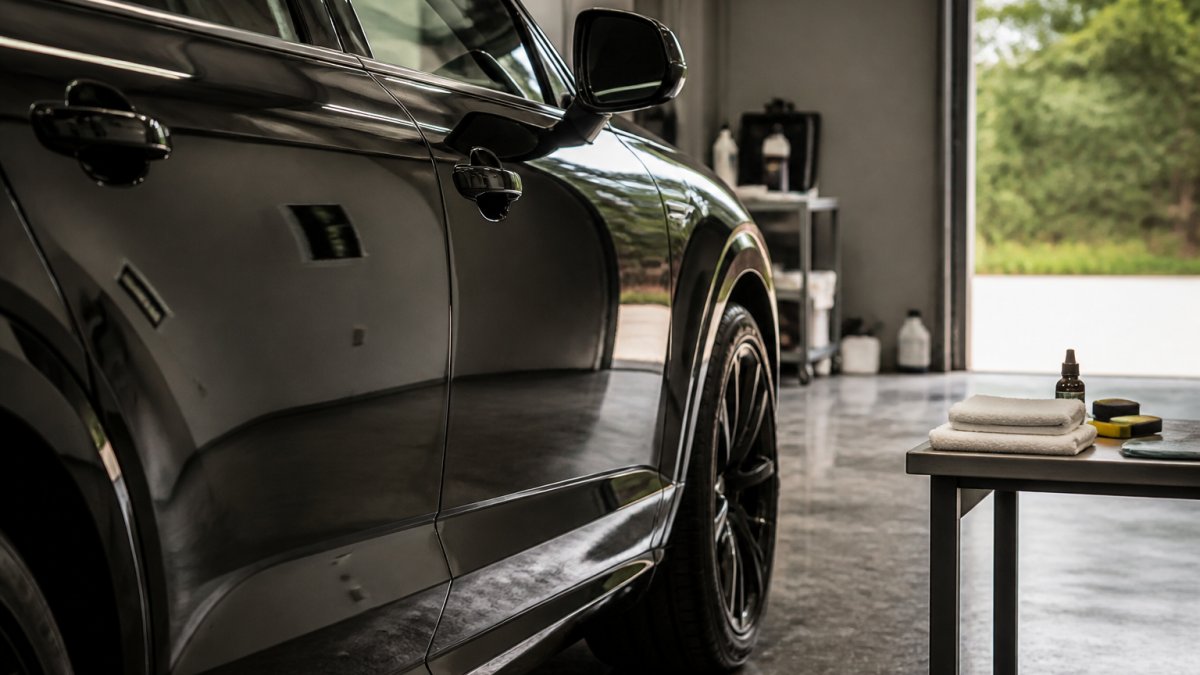
The paint surface must be spotless. Wax residue, polish residue, grease, and silicone residue all stop adhesion. Film sticks to clean paint, not to a slick film of old product.
Watch out: wrapping over a chip or rust spot traps moisture. The film lifts there first, and the damage spreads under the wrap.
How Long Does a Car Wrap Take to Install, and Is DIY Car Vinyl Wrap Installation Worth It?
Most full wraps take several days in a shop. DIY car vinyl wrap installation takes far longer for a beginner, often weeks of evenings, and the first attempt rarely comes out clean.
How long does a car wrap take to install? For a full vehicle, expect multiple days of work. A pro works steadily through the panel order. A beginner re-does panels, fights air bubbles and wrinkles, and learns heat-forming on the fly.
DIY can work on small accents. On a whole car, the curves, recesses, and edges punish inexperience fast. Stretch too far and the film thins. Too little heat and it will not conform.
A professional installer controls the workspace, the temperature, and the post-heating that locks edges down.
For a full wrap done right, a professional installer is the practical choice. Get a free quote from MG Customs and protect your paint from day one.
Here is how shop installation and DIY compare on time and difficulty.
| Item | Value | Note |
|---|---|---|
| Full wrap in a shop | Several days | Pro works steadily through the panel order |
| DIY full wrap for a beginner | Often weeks of evenings | First attempt rarely comes out clean |
| DIY small accents | Can work | Best suited to small jobs |
| DIY on a whole car | Punished by curves, recesses, edges | Inexperience shows fast |
| Too much stretch | Film thins | Stretch too far and it thins |
| Too little heat | Film will not conform | Heat-forming takes practice |
Frequently Asked Questions
How long does a professionally installed vehicle wrap last?
Most quality cast vinyl films last five to seven years when installed correctly and cared for, though harsh sun, frequent automated car washes, and poor prep shorten that window. Longevity depends more on surface preparation and post-heating than on the film brand alone. A wrap applied over contaminated paint or lifted edges will fail early regardless of the material. Ask your installer how they finish seams and edges, since those are the first areas to peel.
Can you install a full vehicle wrap yourself?
You can, but full vehicle vinyl wrap installation is a different job from wrapping a phone or a mirror cap. Curves, recesses, and bumper seams require controlled stretch and heat, and a single mistake can waste an entire roll. Beginners often underestimate material cost and the hours needed for disassembly and reassembly. Practicing on a hood or roof first is a sensible test. If the result needs to look factory-clean, a professional installer saves both film and frustration.
What should you avoid right after getting a vehicle wrapped?
Skip automated car washes with brushes for at least the first two weeks, and avoid pressure washing directly at seams and edges. Hand wash with pH-neutral soap and dry with a microfiber cloth. Park in shade where possible during the first few days so the adhesive fully bonds. Check edges after the first week and report any lifting to your installer early, since small fixes are quick and cheap compared to re-wrapping a panel.